
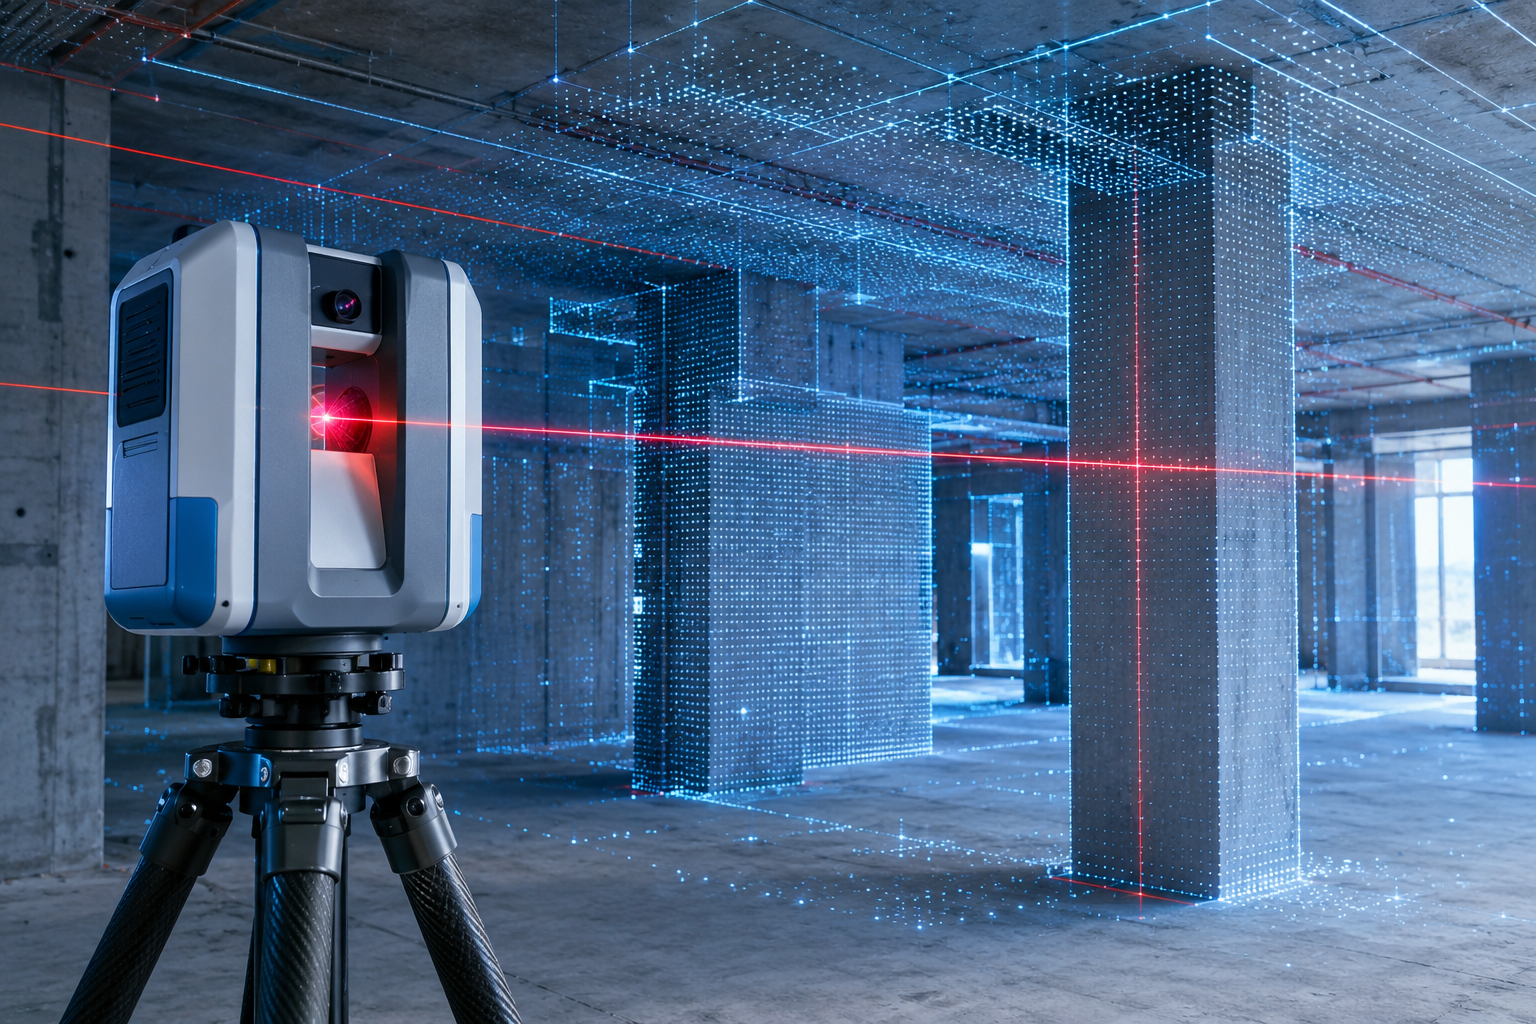
- A successful 3D laser scanning survey is not simply a matter of placing a scanner on a tripod and collecting measurements. The survey result depends on decisions made before, during and after field acquisition. Scanner locations, visibility, reference control, required detail, registration and quality checks can all influence the usefulness of the final dataset.
- This is especially important when surveying existing conditions. A site may contain obstructions, restricted access, changing conditions or areas that cannot be measured easily from a single position.
- For that reason, a structured scanning workflow is essential.
- This guide focuses on what happens during a 3D laser scanning survey, how field decisions affect the resulting data, and what survey teams should consider when working toward reliable measurements.
What Is 3D Laser Scanning?
- 3D laser scanning is a non-contact measurement technique used to record the spatial position of visible surfaces.
- Instead of collecting only selected measurements, the scanner observes a wider area from each setup. When several setups are required, the individual datasets are combined during processing.
- The important part is that the collected information must be planned, connected and checked before it is used for measurement or engineering work.
When Is a Full Spatial Capture Useful?
Not every survey requires dense spatial information.
A detailed scanning approach becomes more useful when the project has one or more of these conditions:
- The geometry is complicated or irregular.
- Many measurements may be required after the site visit.
- Some areas are difficult to access repeatedly.
- Existing records may not represent current conditions.
- Several parts of the site need to be reviewed together.
- Future work depends on understanding the relationship between multiple physical features.
The decision to scan should therefore be based on the information requirement, not simply on the availability of scanning equipment.
The 3D Laser Scanning Process, Step by Step
Step 1: Define the Survey Requirement
The survey should begin with a clear understanding of what information is required.
Before going to site, the survey team should establish:
- Survey limits
- Important features
- Expected measurement tolerance
- Areas with restricted access
- Required level of detail
- Coordinate reference
- Expected final use of the dataset
This prevents the field team from collecting excessive information in unimportant areas while missing information that matters later.
Step 2: Inspect the Site Conditions
Site conditions can strongly affect the scanning strategy.
The team should identify:
- Obstructions
- Narrow spaces
- Reflective or difficult surfaces
- Areas with limited visibility
- Elevated features
- Temporary objects
- Safe locations for instrument setups
A site inspection also helps determine whether additional setups will be necessary.
Good planning at this stage can reduce the need for return visits.
Step 3: Establish Survey Control
- Where required, scan data needs to be related to a defined project reference.
- The control approach may depend on the project and can involve known survey points or references that allow separate scan positions to be connected consistently.
- The purpose is to maintain a reliable spatial relationship throughout the survey.
- For larger projects, the control strategy should be considered before scanning begins rather than added as an afterthought.
Step 4: Choose Scanner Positions
Scanner placement is one of the most important field decisions.
A good position should provide sufficient visibility while also creating useful overlap with nearby setups.
The surveyor considers:
- Line of sight
- Hidden surfaces
- Distance to important features
- Overlap with adjacent scans
- Movement around the site
- Equipment safety
- Required detail
A scanner does not automatically capture what is hidden behind an object.
If an important feature cannot be seen from one position, another position may be required.
Step 5: Select Appropriate Scan Settings
There is no single setting that is ideal for every project.
The surveyor should balance:
- Required detail
- Feature size
- Measurement distance
- Coverage
- Field time
- Data volume
- Processing requirements
For example, a survey requiring small feature verification may need a different acquisition approach from a survey intended to describe broad surfaces.
Using the highest available density everywhere is not necessarily the most efficient solution.
Step 6: Capture and Monitor the Survey
The scanner is positioned securely and the selected acquisition is started.
During fieldwork, the surveyor should not simply move from one station to the next without reviewing what has already been captured.
Important checks include:
- Coverage
- Visibility
- Registration references
- Unexpected gaps
- Instrument movement
- Important features that may require another setup
Reviewing the data while still on site gives the team an opportunity to correct problems before leaving.
Step 7: Register the Scan Positions
- When several setups are used, the individual scans must be combined into a consistent dataset.
- Registration may use appropriate project references, targets, overlapping geometry or a combination of methods.
- This is an important quality stage because a visually convincing alignment is not automatically a correctly registered survey.
- The team should review the registration results and investigate areas where alignment does not meet the required project tolerance.
Step 8: Perform Quality Control
After registration, the dataset should be checked before final use.
Quality control can include reviewing:
- Scan-to-scan alignment
- Coverage
- Missing areas
- Control relationships
- Unusual geometry
- Temporary objects
- Areas affected by poor visibility
Quality control is particularly important when measurements will later be taken from the dataset.
Common Field Problems That Affect Scanning
Occlusion
An object can block the scanner’s view of another surface.
This can happen with:
- Columns
- Equipment
- Walls
- Furniture
- Structural elements
- Temporary site materials
The solution is generally better scanner positioning or additional coverage.
Limited Access
Some locations may be inaccessible because of safety restrictions, operating equipment or construction activity.
The scanning strategy should consider these restrictions before field acquisition begins.
Poor Scan Overlap
Separate scans need sufficient common information to be related reliably.
Weak overlap can make registration more difficult and can reduce confidence in the combined dataset.
Moving Objects
People, vehicles and temporary equipment can appear in the captured information.
Where these objects are not part of the required survey, they may need to be identified and removed during processing.
Changing Site Conditions
Construction sites are constantly changing.
A scan represents conditions at the time of acquisition, so the survey date and project stage should be recorded clearly.
3D Laser Scanning vs Photogrammetry vs Total Station
These technologies can serve different roles within a survey project.
| Method | Main role | Typical strength |
| 3D Laser Scanning | Detailed spatial capture | Broad geometric documentation |
| Photogrammetry | Image-based measurement and reconstruction | Large visual datasets |
| Total Station | Controlled point measurement | Precise selected observations |
| Combined workflow | Complementary surveying | Uses different methods where appropriate |
The correct choice depends on the project’s tolerance, site conditions, required coverage and final information needs.
In some projects, more than one technology can be used within the same survey workflow.
What Actually Controls Scanning Accuracy?
1.Scanner accuracy should not be confused with point density.
2.Accuracy refers to how closely a measured position represents the actual position of the feature.
3.Point density refers to how closely individual observations are distributed across a surface.
4.A dataset may contain a large number of points without automatically achieving the required positional accuracy.
Factors That Can Influence Accuracy
Several conditions can affect the final result:
- Instrument specifications
- Distance from the scanner to the feature
- Scanner position
- Surface characteristics
- Observation angle
- Environmental conditions
- Survey control
- Registration quality
- Field procedures
- Processing quality control
This is why a project’s required tolerance should be established before scanning settings are selected.
Point Density: How Much Detail Is Enough?
- Point density should be selected according to the feature being surveyed.
- A small connection, edge or installation detail may need closer observations than a large flat surface.
- The survey team should therefore consider:Feature size + required tolerance + scanning distance + final use
- rather than simply selecting the maximum available density.
- Higher density can increase data volume and processing requirements, so it should have a clear purpose.
Why Scan Positioning Matters More Than Many People Expect
One of the easiest mistakes is assuming that a small number of scanner positions will always be sufficient.
The actual challenge is visibility.
A scanner positioned in an open area may capture a large amount of useful information. However, the same approach may fail in a crowded mechanical room where objects hide important surfaces.
Good positioning helps create:
- Better visibility
- Stronger overlap
- More complete coverage
- More reliable registration
- Fewer missed areas
This makes scanner positioning a survey-planning decision, not simply an equipment-placement task.
How Quality Control Reduces Rework
- A scanning survey can create a large amount of information, but more data does not remove the need for checking.
- Quality control should happen throughout the workflow: Before scanning → During scanning → During registration → Before delivery
- Early checks can identify problems while the survey team still has an opportunity to return to a missing area or capture an additional setup.
- That can be far more efficient than discovering the problem after the site team has already left.
FAQs
1. Does more scanning always mean better results?
No.
The objective is to collect enough information for the required tolerance and final use. Unnecessary data can increase processing time without providing additional project value.
2. Can one scanner position capture an entire room?
Sometimes, but not always.
Walls, equipment, columns and other objects can hide surfaces. Multiple positions may therefore be necessary to achieve adequate visibility.
3. Why are multiple scans registered together?
Multiple setups are needed when the required area or visibility cannot be achieved from one position. Registration connects those datasets into a consistent spatial record.
4. Is high point density the same as high accuracy?
No.
Point density describes how closely observations are distributed. Accuracy describes the positional reliability of the measurements.
5. Can scanning problems be identified in the field?
Yes.
Reviewing coverage, overlap and important features during fieldwork can help identify missing information before the team leaves the site.
6. What should be decided before the survey?
The survey scope, required tolerance, areas to be captured, site restrictions, coordinate reference, required detail and intended use of the data should be considered before field acquisition.